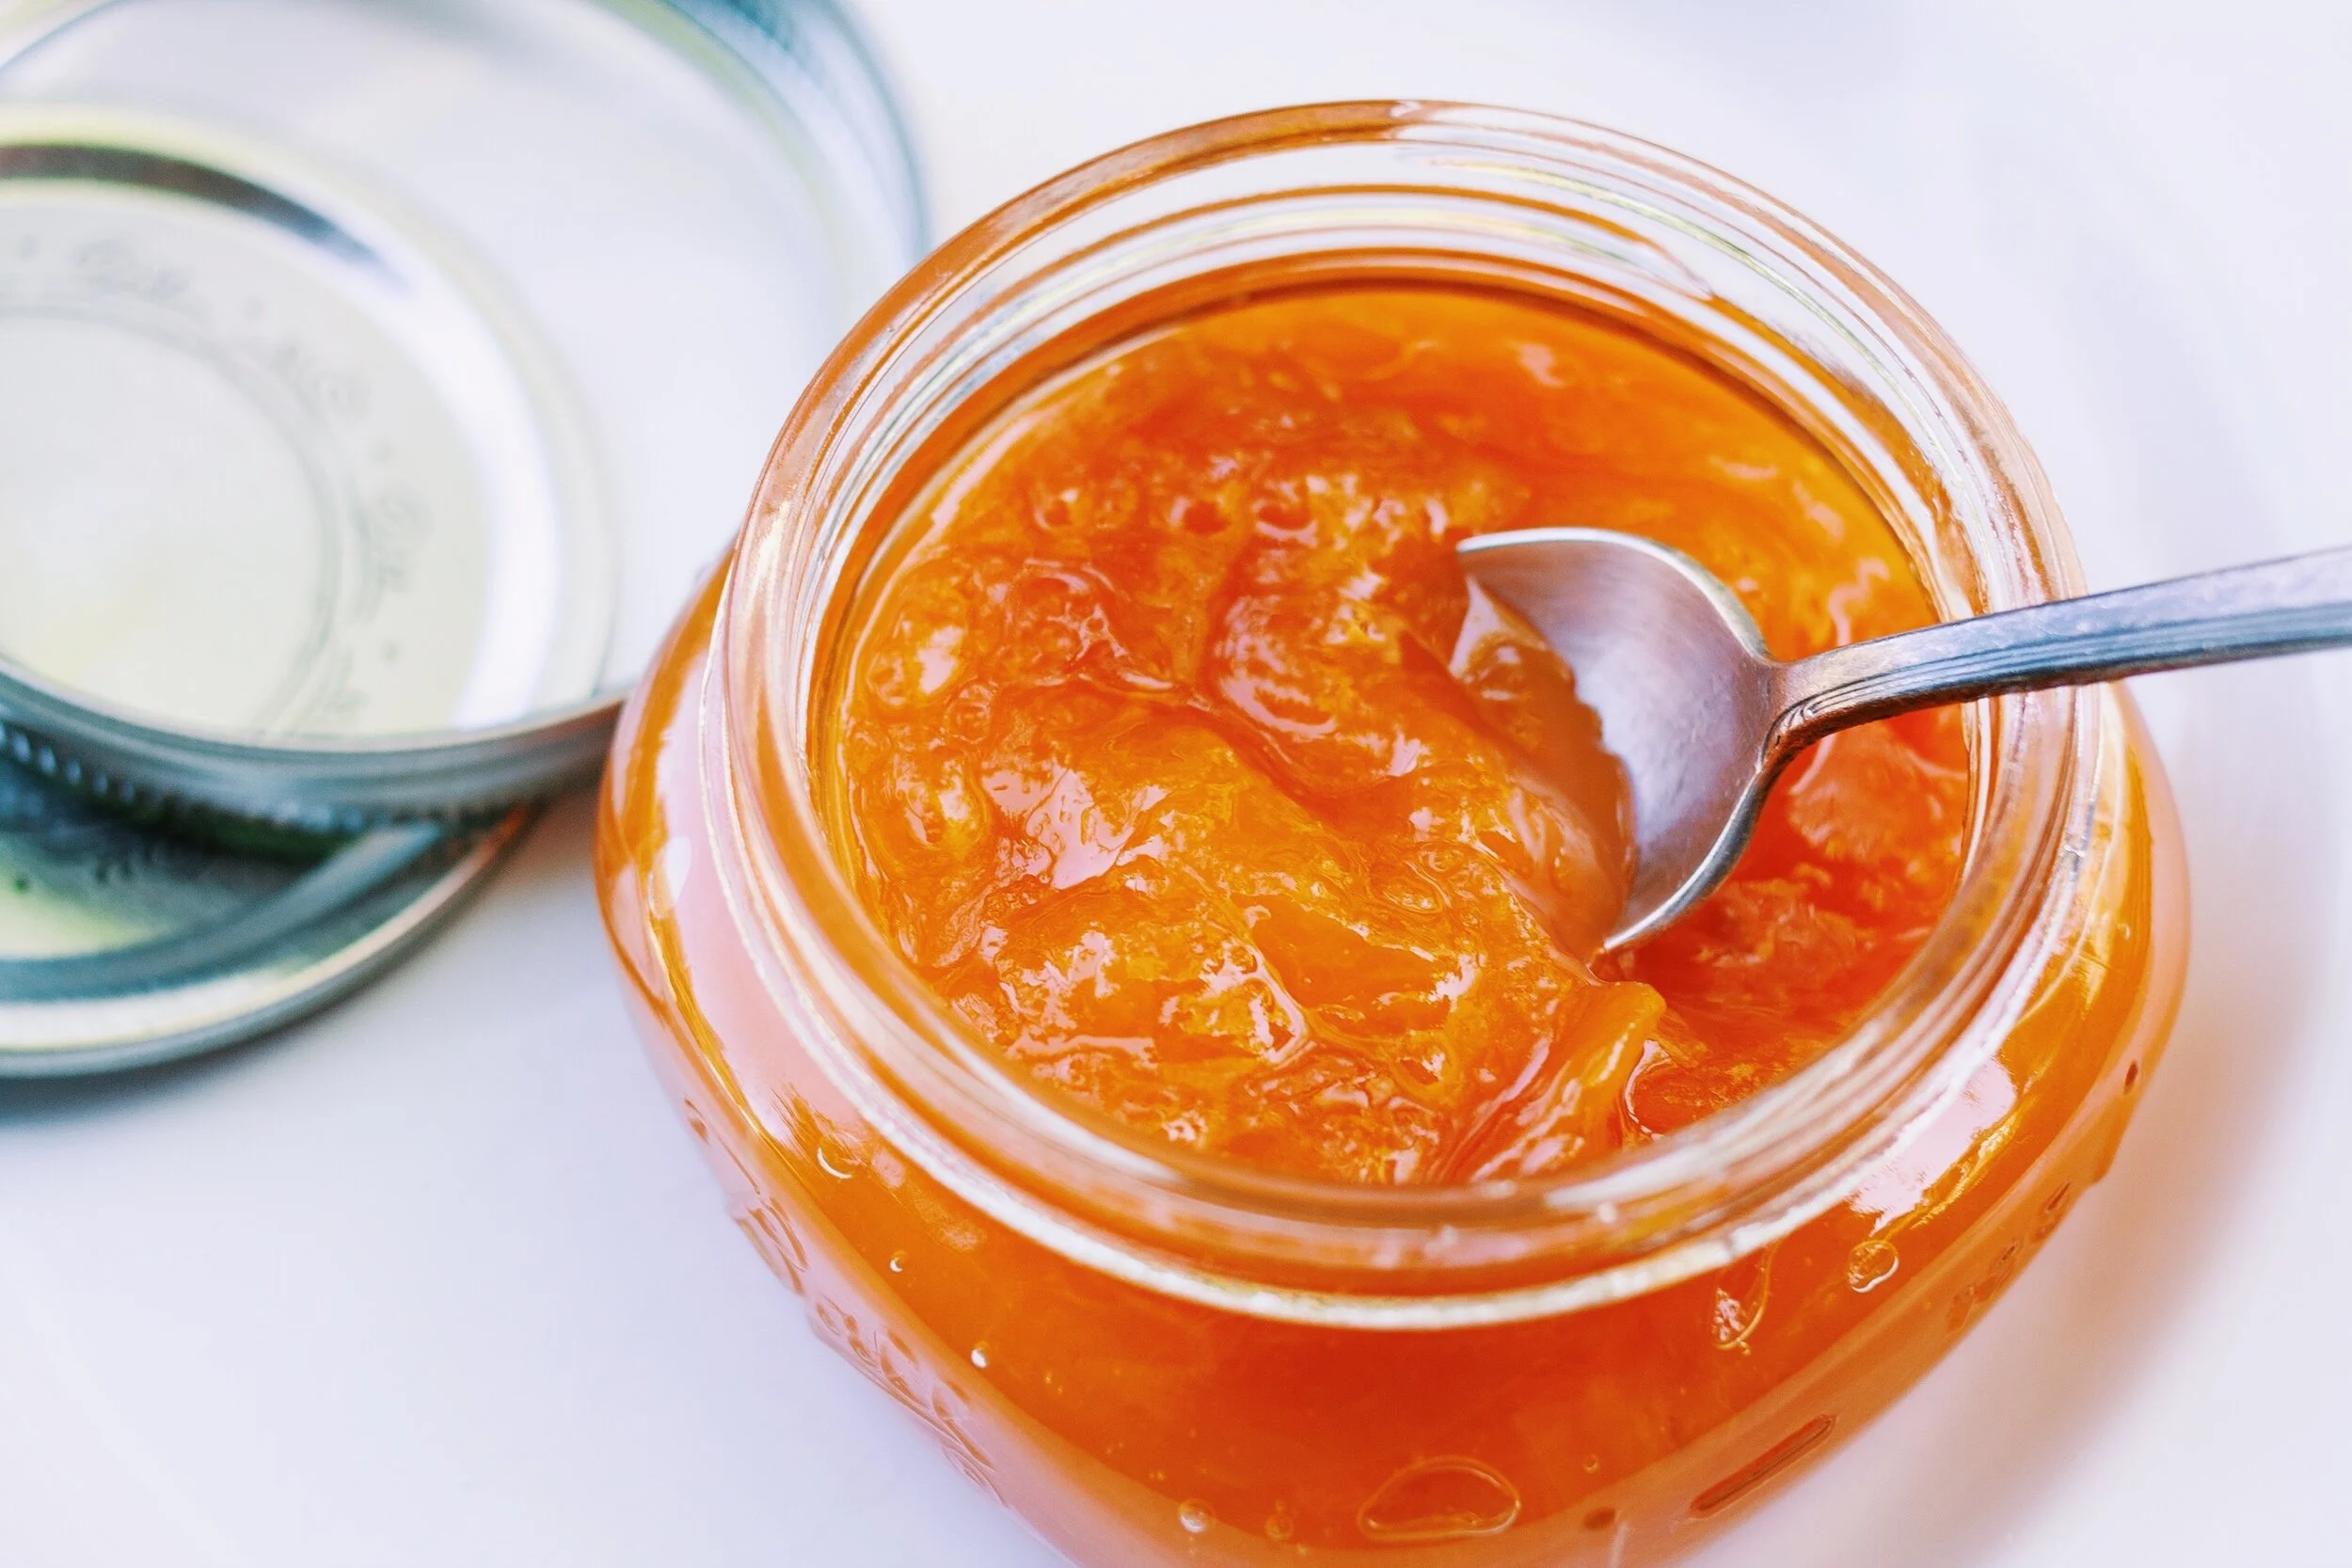
Recipe: Apricot Jam
Every year, I eagerly await the arrival of fresh apricots in farmers markets. Their season is much too brief, lasting from mid-May till the end of June, and I love to extend it just a little by making a batch of apricot jam. I know jam has a reputation for being difficult, but I promise it doesn’t have to be such a chore. You do need an excellent recipe, though. The one below comes directly from my cookbook and is packed with kitchen know-how. Don’t worry if this is your first time making jam—apricot is the ideal fruit to begin with because it contains a high level of natural pectin, which means you won’t need to add anything more than sugar and a splash of lemon juice.
Apricot Jam
Makes enough to fill six 8-ounce (240ml) jars
3 pounds (1.4 kg) ripe, soft apricots
4 cups (800 g) sugar
Juice of 1 lemon
Cut each apricot in half and discard the pit. Chop the fruit into 1-inch (2.5 cm) pieces and place in a wide, heavy-bottomed pot. Stir in the sugar and lemon juice. Let stand for at least 30 minutes and up to overnight.
Wash six 8-ounce (240 ml) jars and their lids with hot, soapy water. Choose a pot large enough to fit all the jars and tall enough that there can be at least 1 1/2 inches (4 cm) of water above the top of each jar. Fill the pot with water and bring to a simmer. Most jam jars have lids that come apart into two pieces: a flat top and a metal ring. Place the flat tops in a bowl. Carefully lower the glass jars and metal rings into the simmering water to sterilize while you make the jam.
Bring the apricot mixture to a boil over high heat. Cook, stirring frequently and scraping the bottom and sides of the pot with a wooden spoon or heatproof rubber spatula, until the fruit breaks apart and the juices thicken, about 15 minutes. At first the fruit will release a lot of liquid and the jam will look like apricot soup, but don’t worry—much of the water will evaporate while the jam cooks. The jam is done when its texture is shiny and gloppy. Remember that the jam in the pot is super hot so it won't look exactly like finished jam; it'll be runnier. Large bubbles will form slowly on the surface and the jam will cling to the wooden stirring spoon. The most accurate way to check for doneness is to use an instant-read thermometer. As soon as the jam reaches 206°F, remove the pot from the heat.
Lift the empty jars out of the simmering water (keep the water at a simmer), allowing them to drain, and place upright next to the stove on a clean kitchen towel. Transfer the metal rings to the bowl with the flat tops, ladle hot water into the bowl, and let sterilize while you fill the jars.
Carefully ladle hot jam into each jar, leaving 1/4 inch (6mm) of headspace at the top of the jar. Using a damp towel, wipe the rims clean. Put the flat tops on the jars, then screw on the metal rings, tightening them only to the point of resistance. Lower the filled jars into the pot of hot water. Simmer for 10 minutes.
Remove the jars from the water and place them on a clean kitchen towel in a spot where they won’t be bumped for 12 hours.
After 12 hours, check to make sure each jar sealed properly—the center of the lid should be concave, like a dimple. Any jars that didn’t seal should be stored in the refrigerator and eaten within 1 week. Label the sealed jars and store them in your pantry for up to 1 year.


